Many homeowners ask the same question once they decide solar energy is right for their property: how long does solar panel installation take? It’s a fair question. Between the survey, the paperwork, the scaffolding and the actual fitting, the solar panel installation process can seem complicated from the outside, even though most projects follow a clear and predictable sequence. Understanding each stage helps you plan around deliveries, scaffolding, and the day the electrician switches everything on. It also makes it easier to spot a reputable installer, since a properly run project should never feel rushed or vague about timings. This guide walks through every stage of the journey, from your first enquiry to the moment your system is generating electricity, so you know exactly what to expect and roughly how long each part usually takes. If you’d like to see the bigger picture first, you can find out more about our solar panel installation service before working through the steps below.
Solar Panel Installation Process Explained
Every solar project, large or small, tends to follow the same broad sequence. The exact timeline depends on your roof, your electricity supplier, and how much preparation work is needed, but the core solar panel installation steps stay consistent. In general, the journey runs from an initial consultation and site survey, through system design and quotation, a DNO application and permissions stage, preparation for installation day, the installation itself, testing and commissioning, and finally certification and handover. Some of these stages happen in the background while you carry on with daily life, and others need a bit of your time and attention. Below, each one is explained in detail.
Step 1: Initial Consultation and Site Survey
The process usually begins with a conversation about your property, your energy usage, and what you hope to achieve with solar. From there, a site survey and structural assessment is arranged so an installer can look at your roof in person rather than relying on photographs alone. If you’re wondering about the solar panel survey what to expect, it typically covers property suitability, including roof size, pitch and material, along with roof orientation and how much direct sunlight it receives through the day. A structural assessment confirms the roof can support the panels safely, while a look at your household or business electricity usage helps ensure the system is sized sensibly. A shading analysis also checks for chimneys, trees or neighbouring buildings that might block sunlight at certain times of day. A survey usually takes between one and two hours, depending on the size and complexity of the roof.
Step 2: System Design and Quotation
Once the survey is complete, the information gathered is used to put together a bespoke system design rather than a generic package. This stage covers panel positioning across the roof, working around obstructions and shaded areas, along with a decision on whether adding solar battery storage to your system would suit your usage pattern. The inverter is sized to match the number and output of the panels, and you’re given an honest estimate of potential savings based on your current usage rather than guesswork. This stage generally takes a few days to a week, giving the design team time to run calculations properly rather than rushing a proposal.
Step 3: DNO Application and Permissions
Before any panels go up, most UK solar installations require a DNO application to the local Distribution Network Operator. This is a standard part of the solar panel installation process and nothing to worry about, though it does add time to the schedule. Smaller systems are usually registered under G98, while larger systems may require the more detailed G99 process, which can take longer to approve. Grid connection solar panels always need this step completed before the system can be switched on and exported to the grid. Planning permission is rarely needed for standard roof-mounted systems, but it can apply to listed buildings or properties within conservation areas, and if your home falls into either category this is checked and confirmed before work begins. DNO approval under G98 is often granted within a couple of weeks, while G99 applications can take significantly longer, sometimes several weeks, depending on the network operator’s workload. For more solar guidance like this, visit our blog.
Step 4: Preparing for Installation Day
With permissions in place, attention turns to getting everything ready. This includes arranging scaffolding, since safe roof access is essential for any installation, as well as ordering and delivering panels, inverters, and mounting equipment. Any electrical preparation needed inside the property, such as clearing access to the consumer unit, is sorted at this stage too, alongside confirming a date that works for the homeowner. If you’re curious about solar scaffolding cost, this varies depending on property height, roof complexity and access, and is usually included within your overall quotation rather than charged separately. Homeowner preparing for install day is fairly straightforward, and usually means clearing loft or roof access where needed, moving vehicles away from scaffolding areas, and making sure pets and children are kept away from the work zone during the day.
Step 5: Solar Panel Installation Day
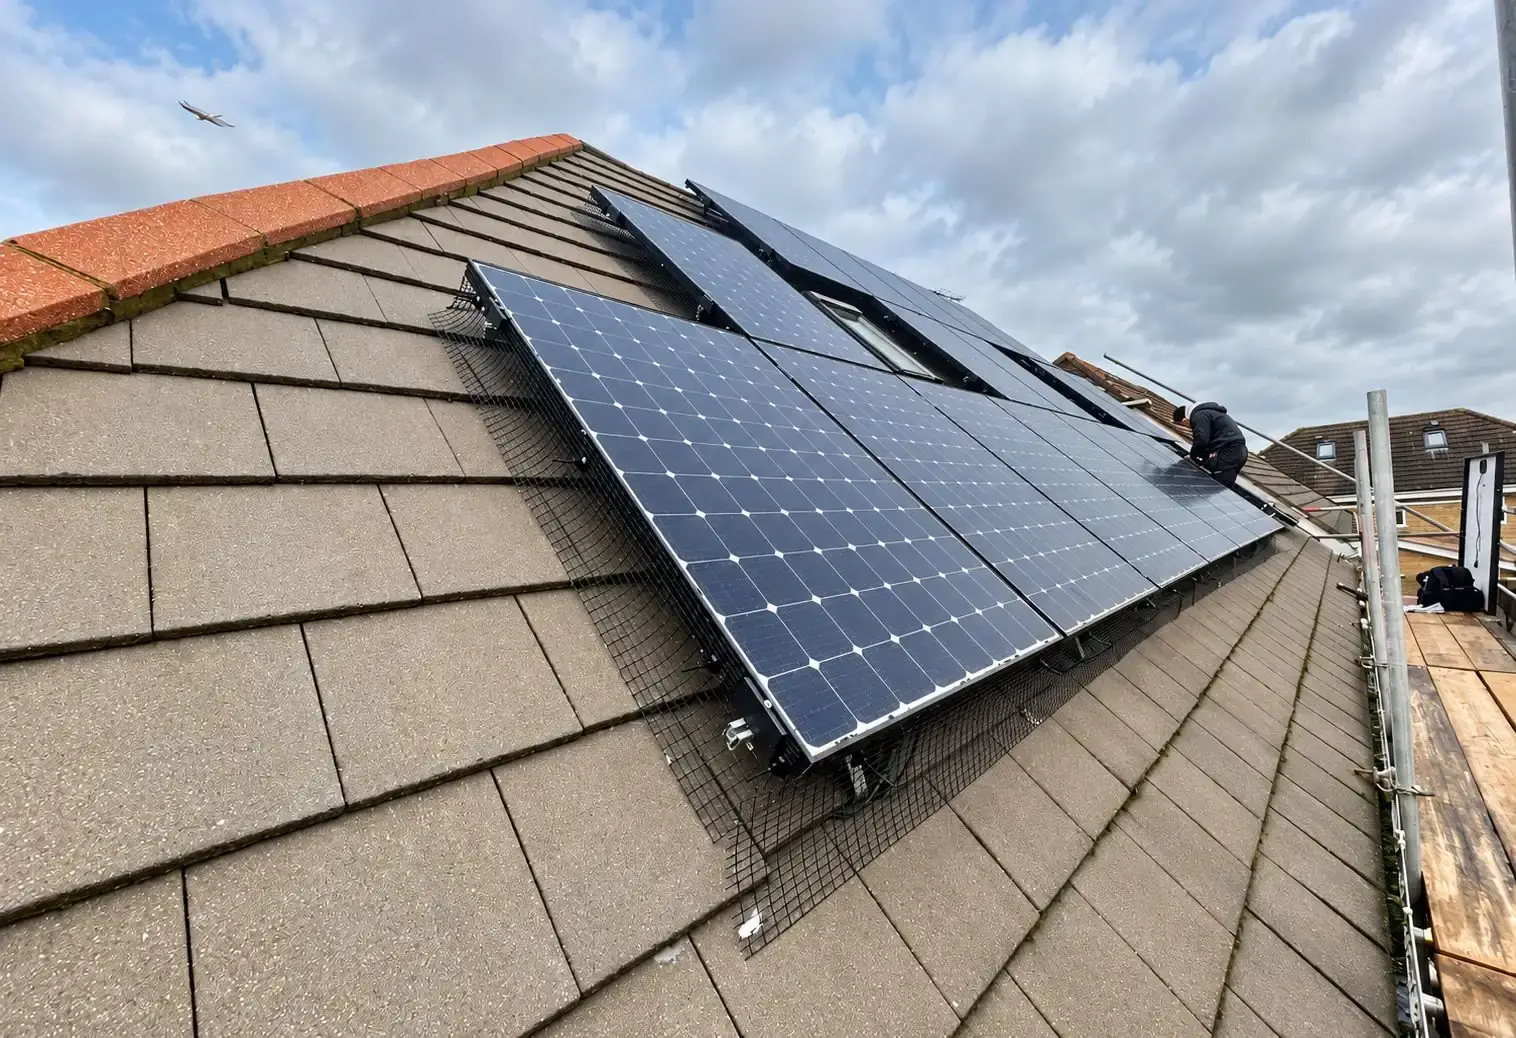
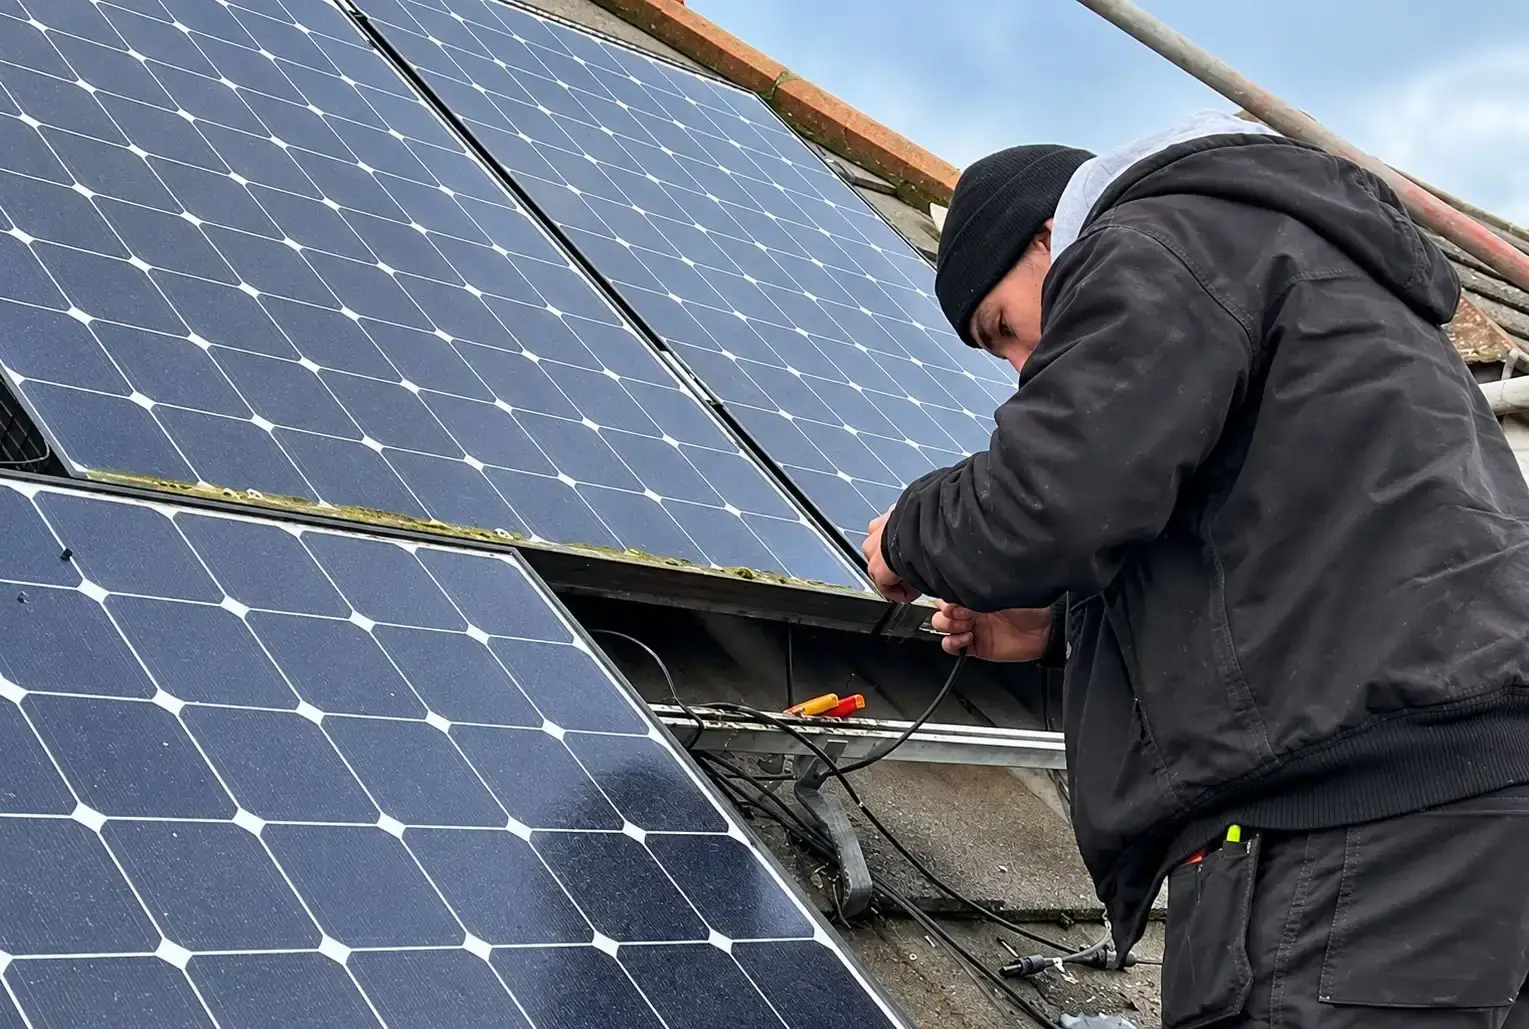
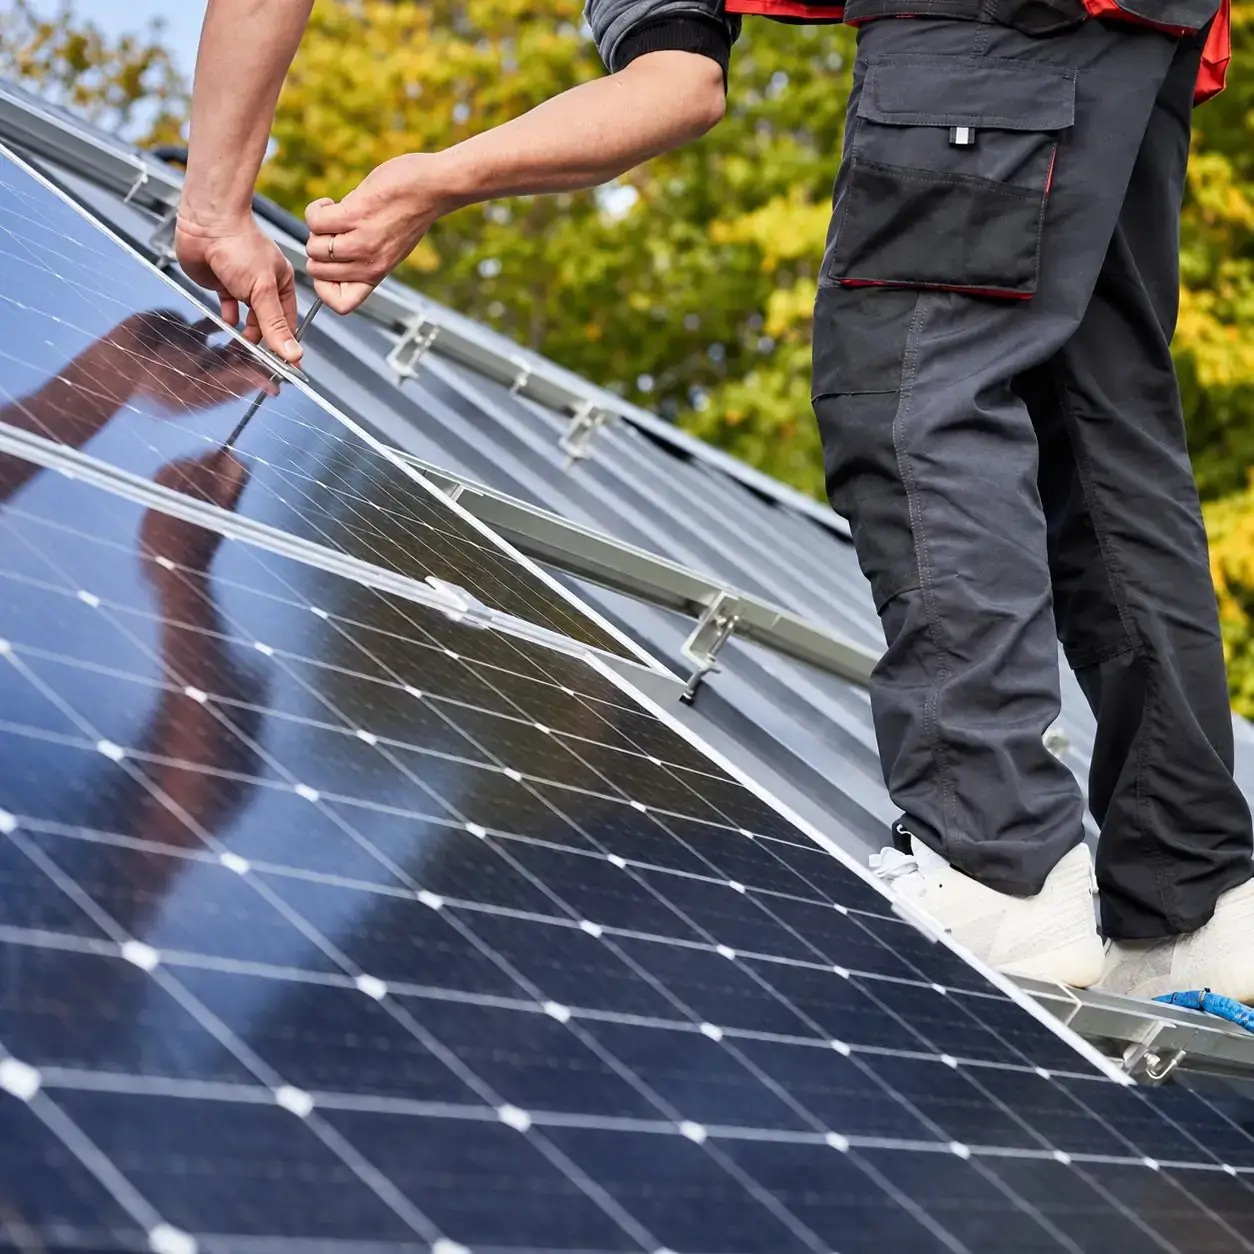
This is the stage most homeowners are most curious about. On the day itself, a NAPIT-registered installation team will typically arrive early, check the scaffolding and confirm access is safe, then fit roof mounting brackets to the structure. Panel installation follows, securing each panel to the mounting rails, before the solar inverter installation process takes place, usually in a garage, loft or utility space. If a battery is included, it’s fitted and connected at this stage, with wiring run between the panels, inverter, and the consumer unit to complete the circuit. A standard domestic installation is usually completed within one working day, though larger systems, battery installations, or properties needing a consumer unit upgrade can take two days. It’s worth knowing that if an inverter ever develops a fault down the line, our team also handles solar inverter repairs and general solar inverter servicing, so support doesn’t end once the installation is complete.
Step 6: Testing and Commissioning
Once everything is physically fitted, the system moves into solar panel commissioning. This is where the installer confirms everything works safely and as intended. Commissioning and performance testing covers safety testing of all electrical connections, followed by performance testing to confirm the panels and inverter are generating correctly. Monitoring app setup also takes place at this point, so you can track generation and usage from your phone or computer. This stage typically takes a few hours and is usually completed on the same day as the physical installation, or the following morning for larger systems.
Step 7: Certification and Handover
The final stage of the solar panel installation process is paperwork, though it’s just as important as the physical work itself. This is where the handover paperwork comes in. You’ll also receive a handover pack containing operating instructions and system details, plus confirmation of SEG eligibility, allowing you to potentially sell excess electricity back to the grid.
Typical Solar Installation Timeline
| Stage | Typical Time |
|---|---|
| Initial consultation and site survey | 1 to 2 hours on site |
| System design and quotation | 3 to 7 days |
| DNO application (G98) | 1 to 2 weeks |
| DNO application (G99) | 4 to 8 weeks, sometimes longer |
| Scaffolding and equipment preparation | 1 to 2 weeks |
| Installation day | 1 to 2 days |
| Testing and commissioning | A few hours, same day |
| certification and handover | A few days after installation |
| Overall process, survey to handover | Typically 4 to 8 weeks |
These figures are general guidance based on standard domestic projects. Your own timeline may run shorter or longer depending on your circumstances.
Factors That Can Affect Installation Time
A handful of factors can extend the schedule beyond the typical timeline. Weather plays a part, since roof work cannot safely go ahead in high winds, heavy rain or icy conditions, so installation days are sometimes rescheduled. Roof condition matters too, as older roofs may need repairs before panels can be safely fitted. DNO approval can also affect timings, with G99 applications in particular taking considerably longer than G98. Scaffolding requirements can add time where complex rooflines or restricted access make erecting and dismantling more involved than usual. A consumer unit upgrade sometimes becomes necessary if the existing electrical consumer unit needs replacing before a system can be connected safely, adding an extra step to the process. Finally, battery installation tends to increase wiring and commissioning time compared with a panels-only system.